


Precision Pocket T-Square Set with Storage Rack – 3″, 6″ & 8″
Better layouts start
with a clear line.
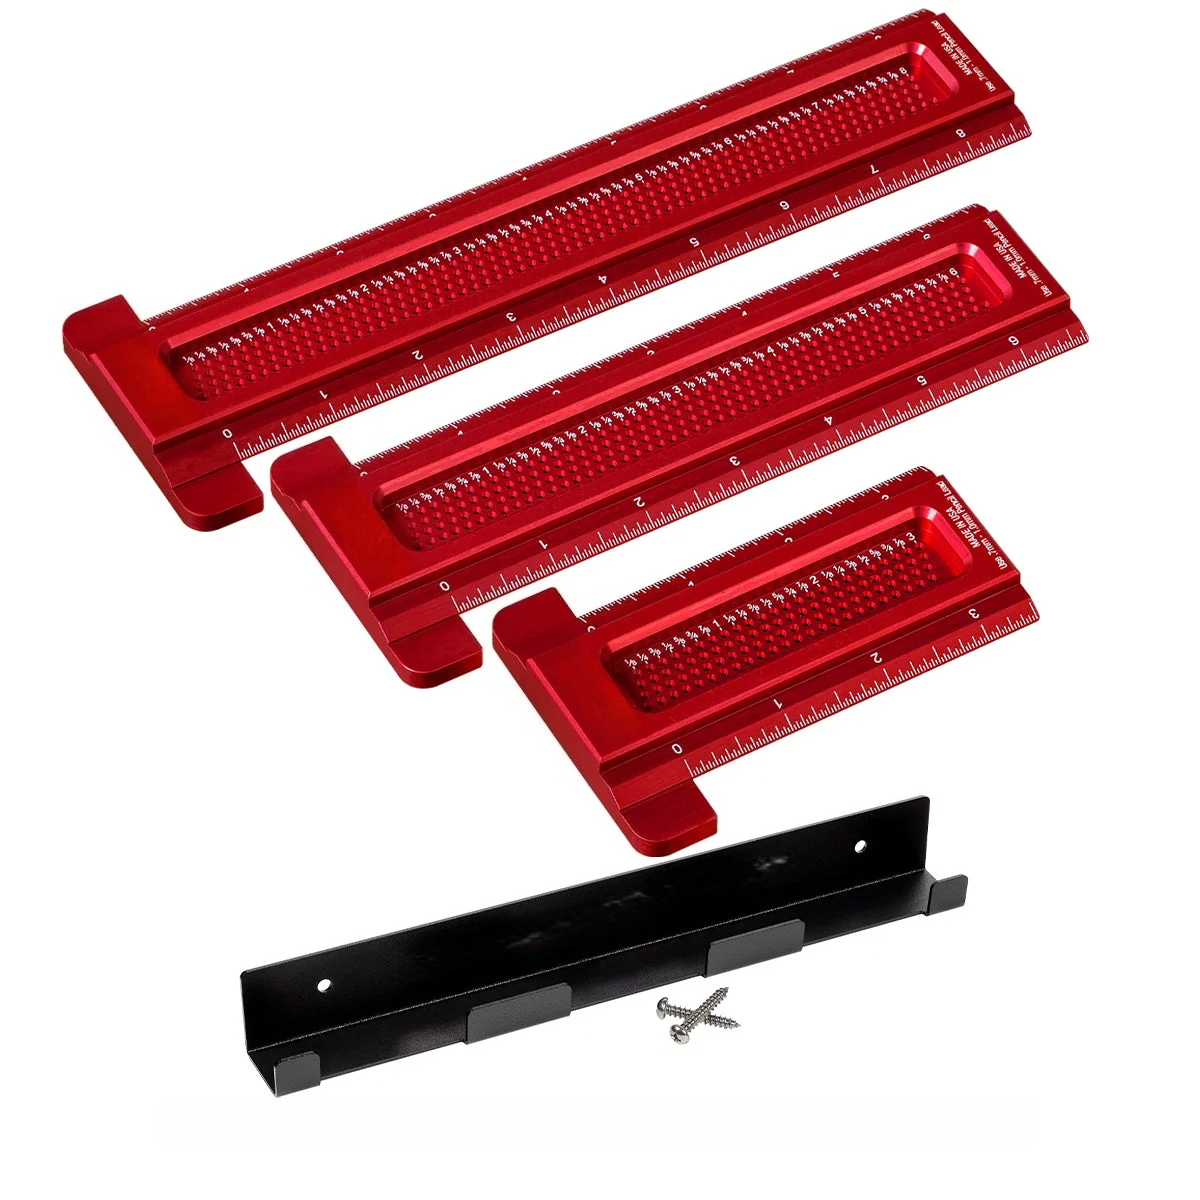
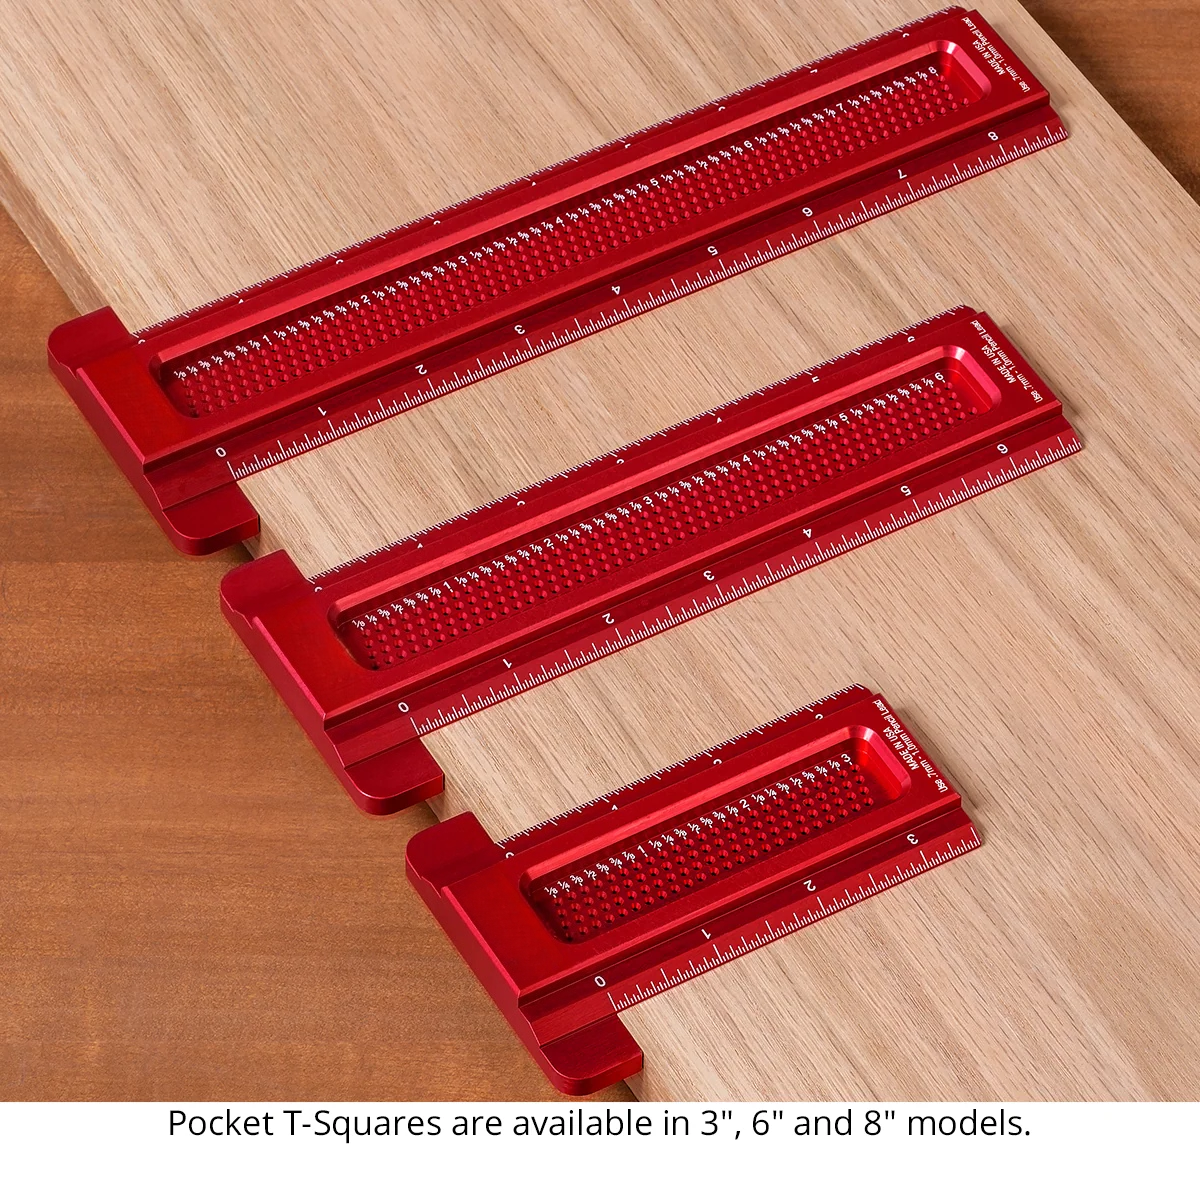
Measure, mark, and repeat with the Precision Pocket T-Square Set. Three practical sizes and a matching storage rack keep your next layout within easy reach.
Three T-squares.
One organized workspace.
From compact joints to wider layout work, choose the size that suits the job. When you finish, return all three squares to the included rack so they are easy to find for your next project.
- 1 × 3″ T-Square for smaller details
- 1 × 6″ T-Square for everyday layout
- 1 × 8″ T-Square for extra reach
- 1 × Storage Rack for the full set
Parallel lines,
made simpler.
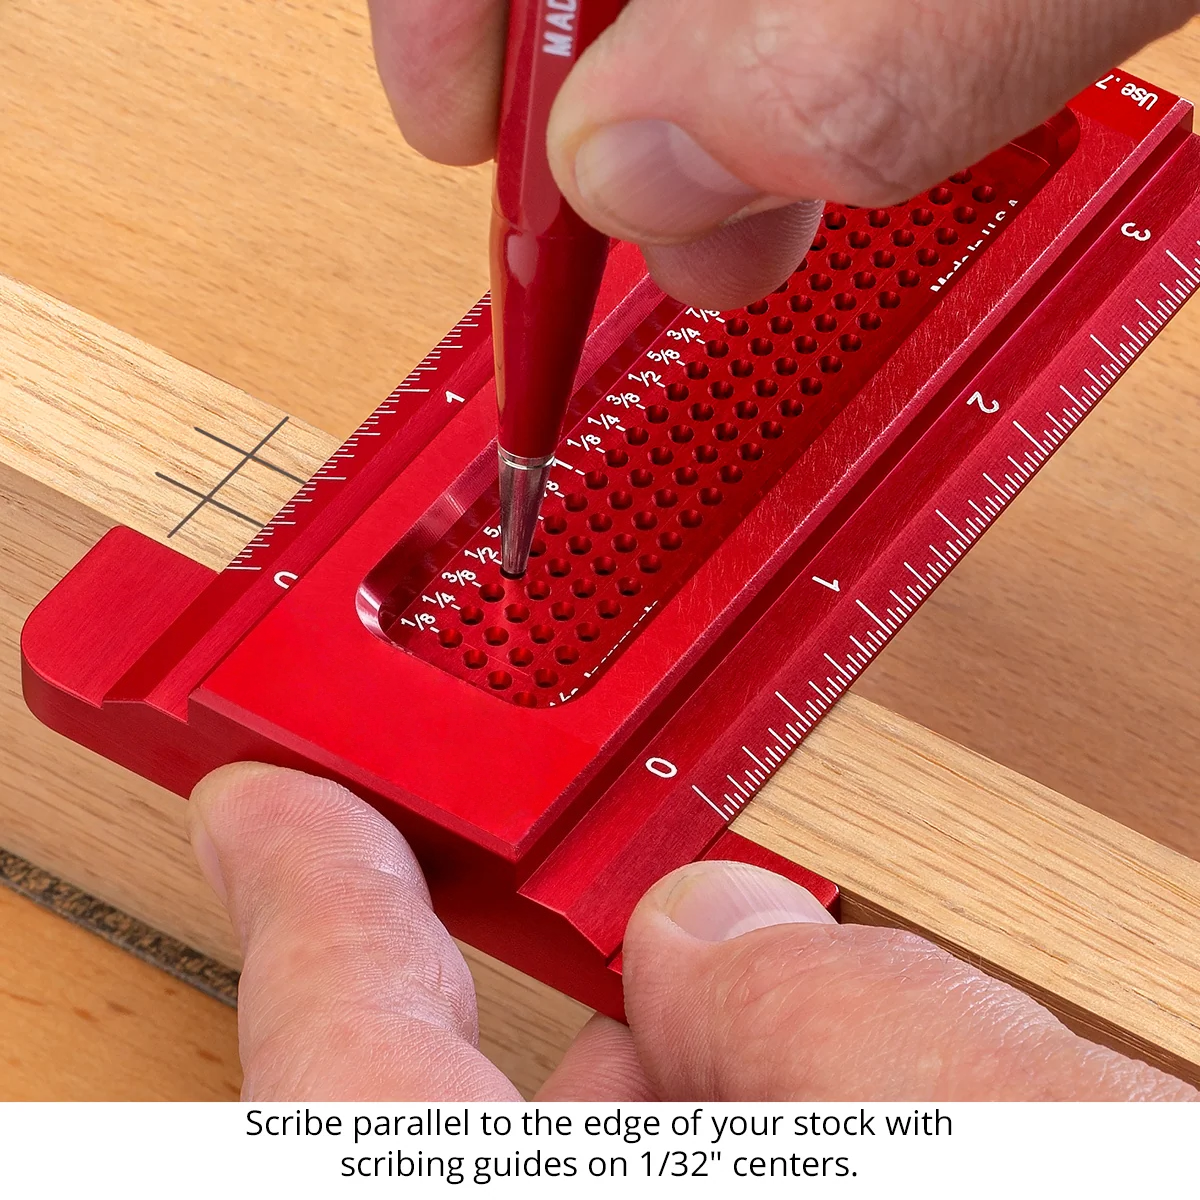
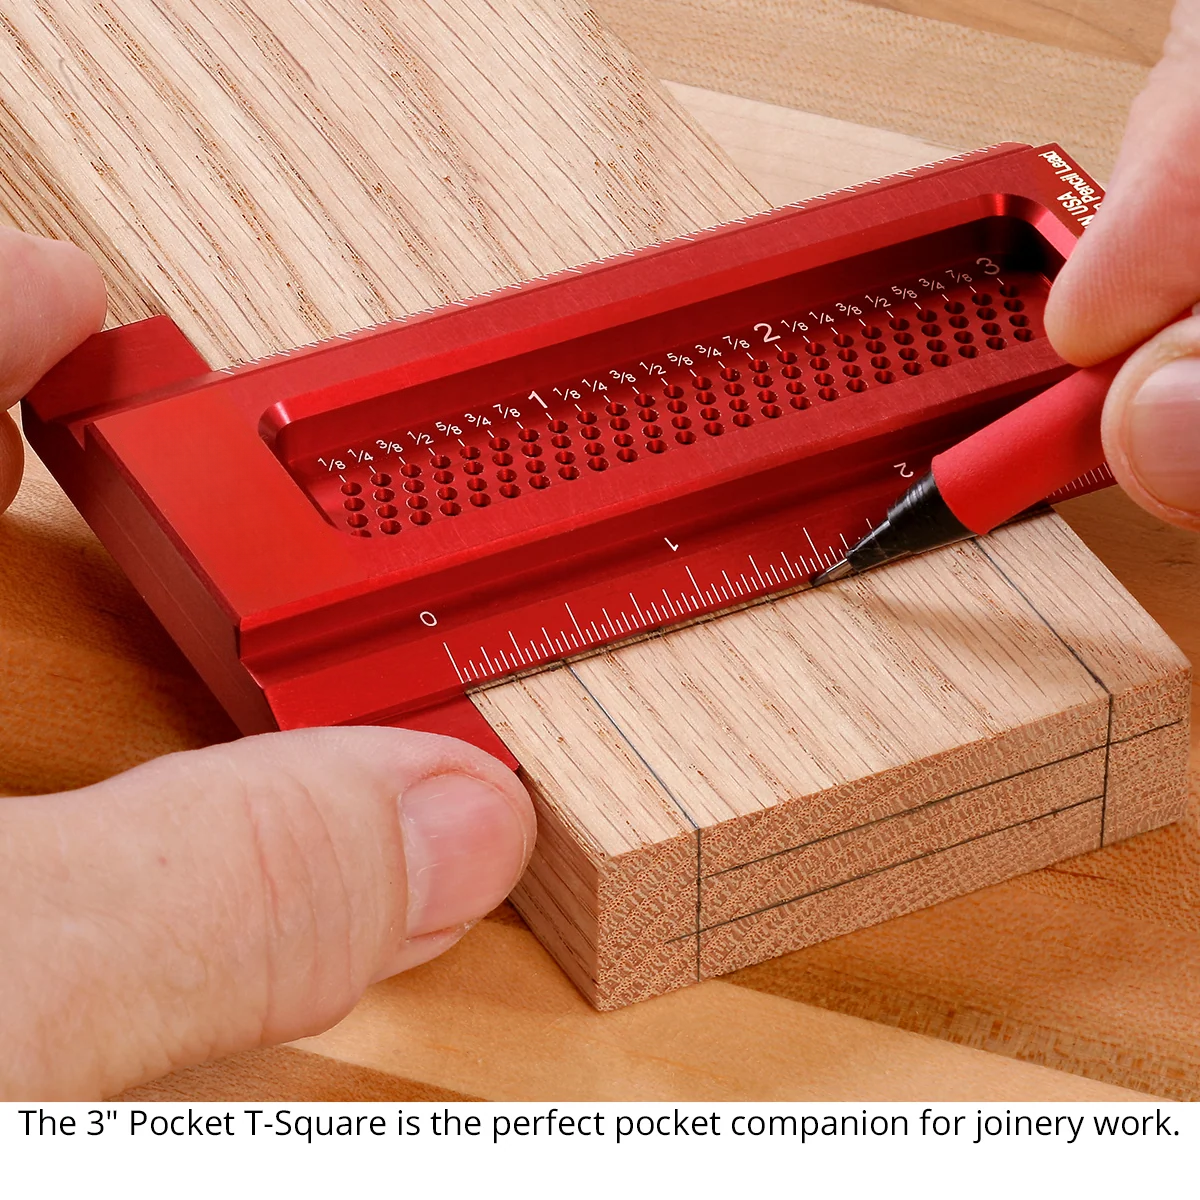
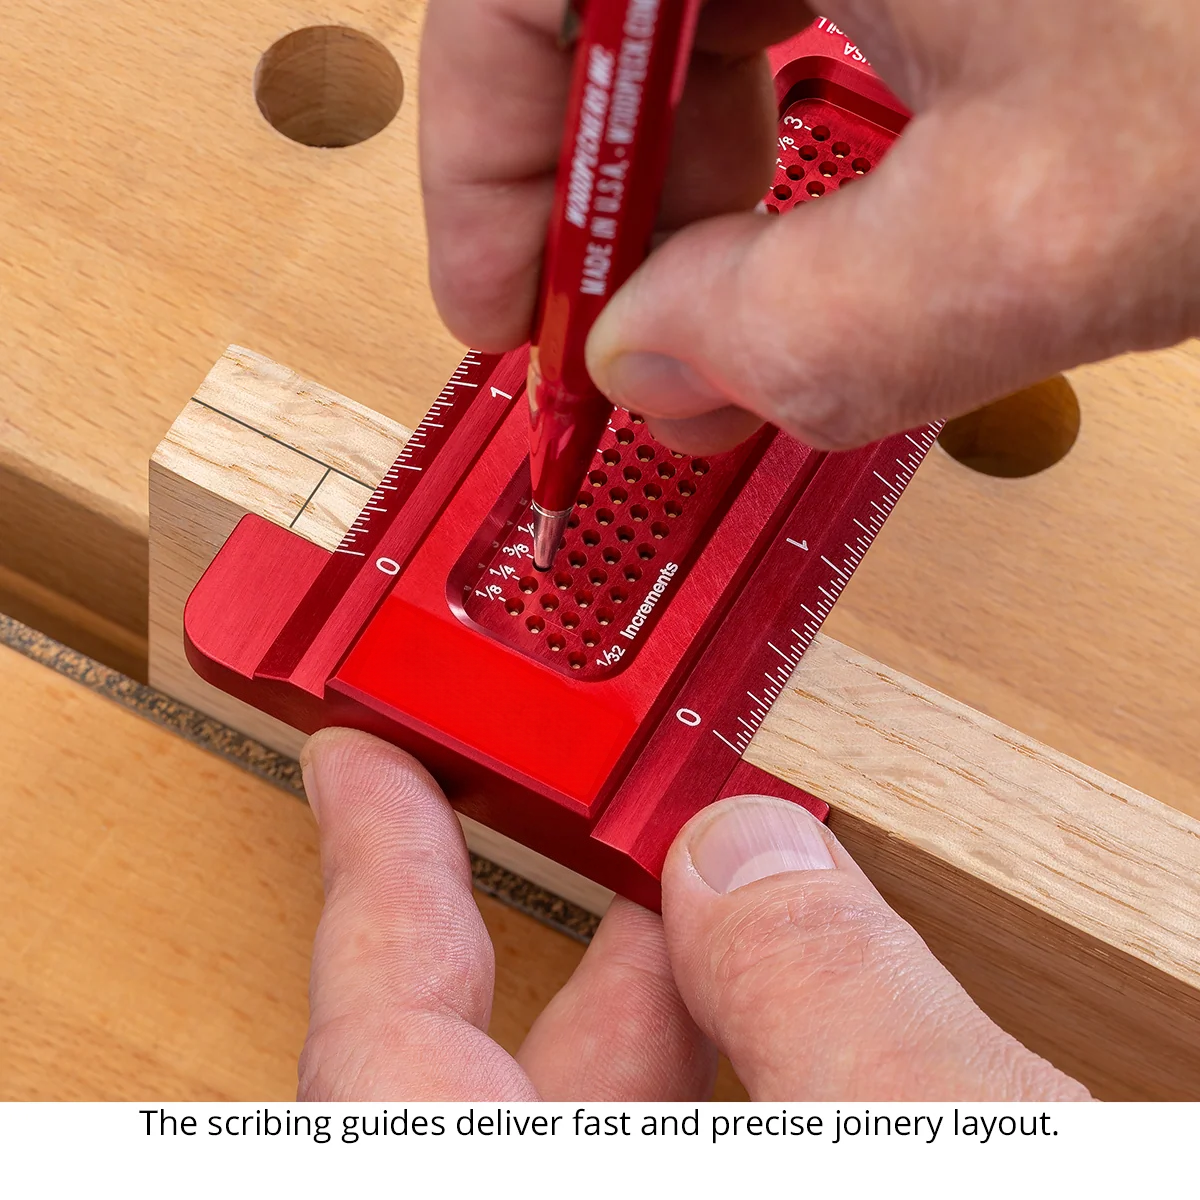
Place your pencil tip in the guide hole at your chosen measurement. Keep the reference lip against a straight workpiece edge and slide the square to trace a consistent parallel line.
Guide positions at 1/32″ intervals help you repeat the same offset for joinery, cabinet layouts, and hardware positioning.
The right reach for the task.
Switch between sizes as your project moves from small details to broader layout work.
Small details
A compact choice for joinery marks, smaller parts, and close-up work at the bench.
Everyday layout
A useful middle size for furniture components, cabinet parts, and general marking.
Extra reach
Reach farther across your workpiece while keeping the same edge-guided marking method.
Steady contact.
Easier-to-read measurements.
Solid aluminum construction gives the square a rigid feel. The broad reference lip seats against the edge of your workpiece to help maintain alignment as you mark.
Beveled scale edges bring the graduations closer to the wood, making your selected measurement easier to read.
Choose. Seat. Slide.
Choose your offset
Select a T-square and locate the guide hole for the distance you want to mark from the edge.
Seat the reference lip
Hold the lip firmly against a straight, clean workpiece edge and insert a suitable pencil tip.
Slide along the edge
Maintain steady contact as you move the square, letting the guide hole position your pencil.
Small tool.
Plenty of bench time.
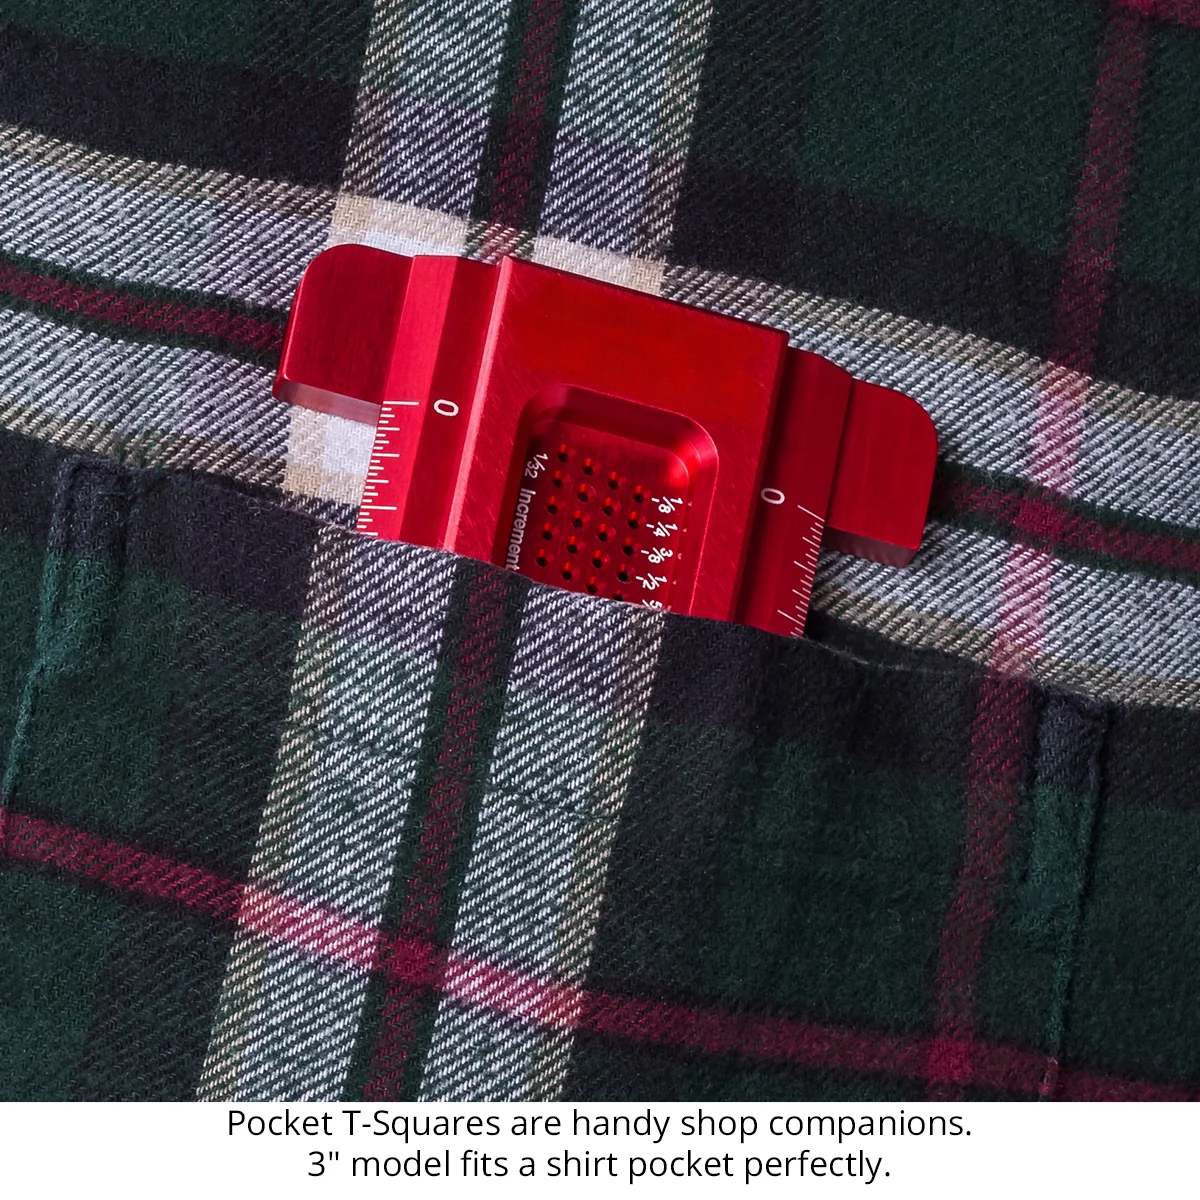
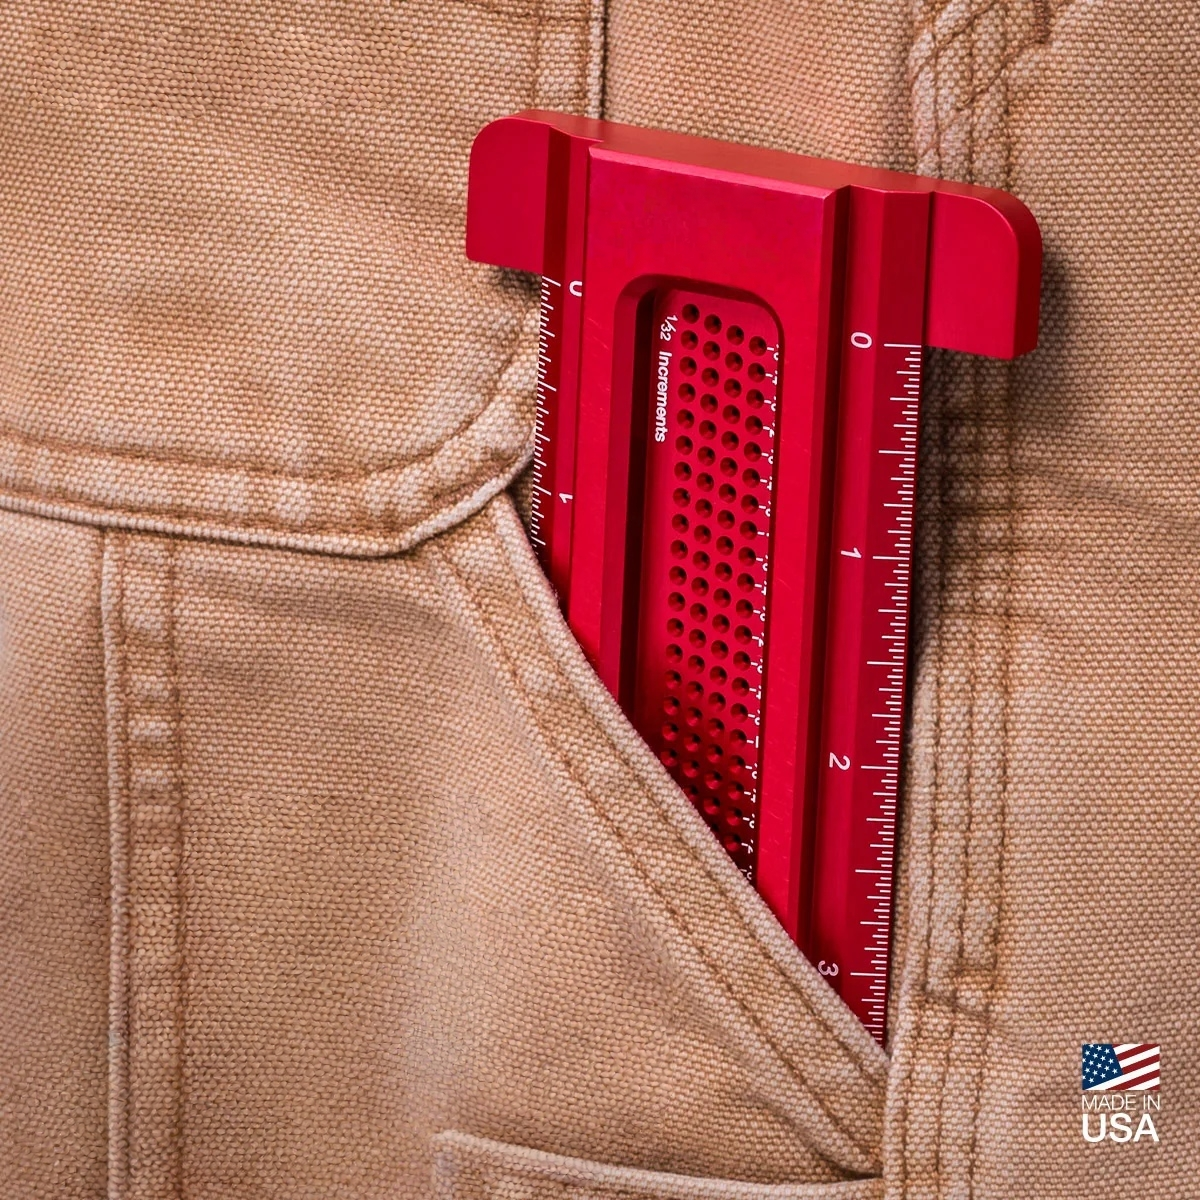
Lay out mortises and tenons, mark rabbets, or establish reference lines for hinges and cabinet hardware. The compact format is easy to handle around smaller furniture parts and detailed woodworking projects.
- Joinery and furniture layouts
- Hinge and hardware positioning
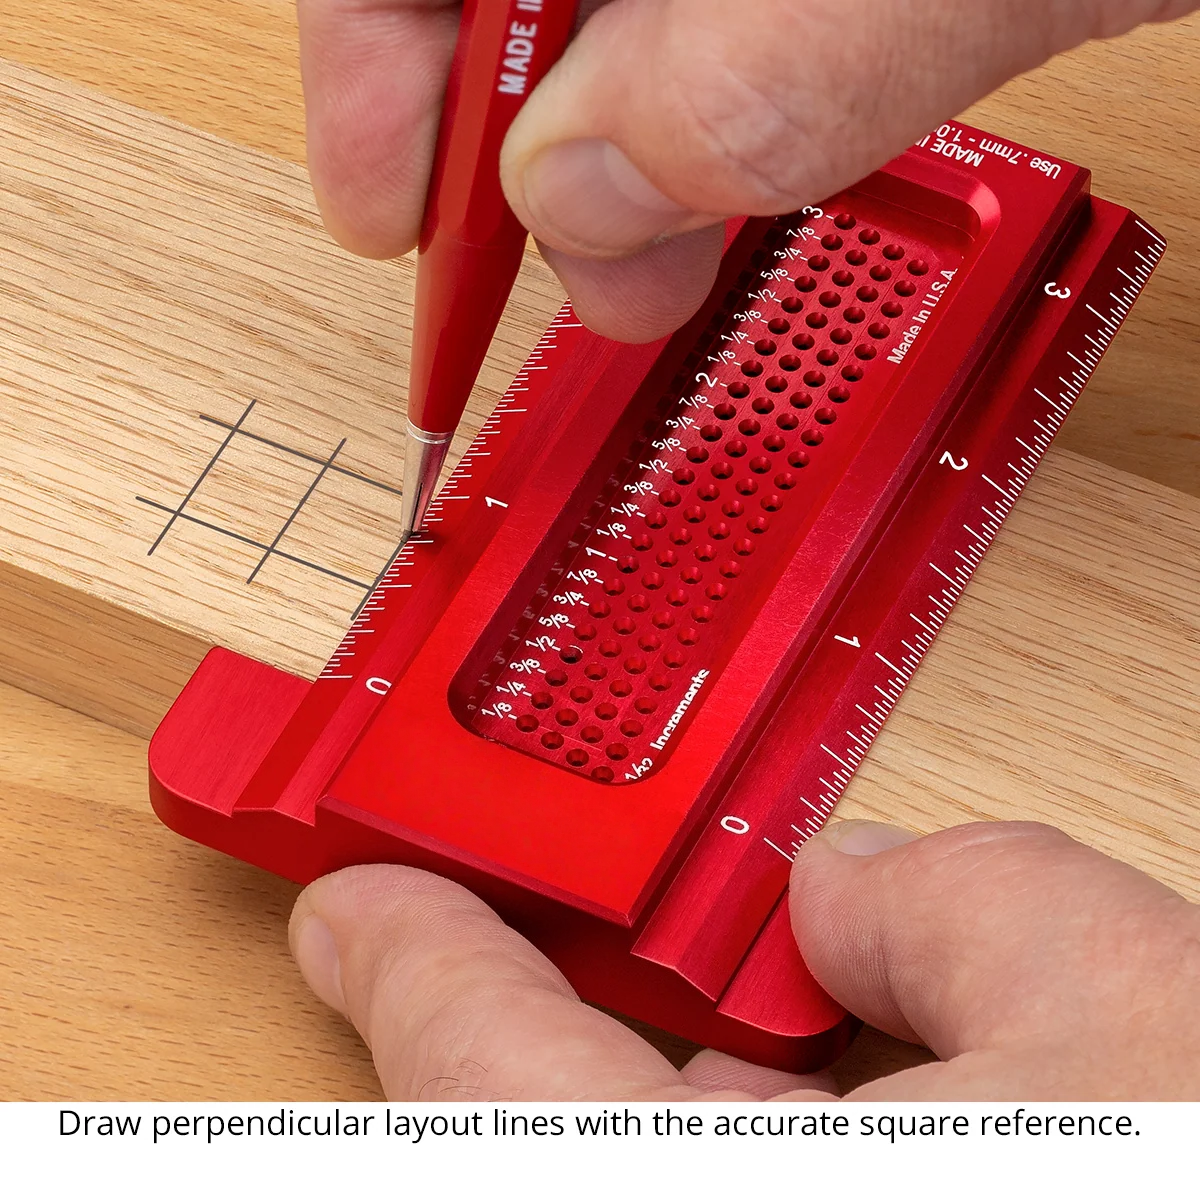
- Parallel offset and perpendicular reference lines
- Everyday workshop measuring and marking
Know your set.
Before you start.
Does this set include all three sizes?
Yes. The set includes one 3″ T-square, one 6″ T-square, one 8″ T-square, and one storage rack.
Are the measurements imperial or metric?
This set uses imperial measurements, with marking positions at 1/32″ intervals. The 1 mm specification refers to the guide hole diameter, not the scale spacing.
How do I draw a parallel line?
Insert your pencil tip into the guide hole at the desired offset. Keep the reference lip against a straight edge of the workpiece and slide the square while maintaining steady contact.
What pencil should I use?
Use a fine pencil tip that fits comfortably through the 1 mm guide hole. A suitable mechanical pencil can make guided marking easier. Do not force a tip into the hole.
What projects is it useful for?
Use the set for woodworking layout, mortise-and-tenon marking, rabbets, cabinet components, and reference lines for hinges and other hardware.
Ready for your next layout.
Three useful sizes. Repeatable marking. A dedicated place for every square.